Git is a well known Source Code Management (SCM) system and two of its popular implementations are GitHub and GitLab.
Developers using Visual Studio often like to use Git for their SCM needs and this tutorial is intended to serve as a quick guide for setting up Git with Visual Studio. Here, we have used GitHub SCM system and Visual Studio 2012 IDE.
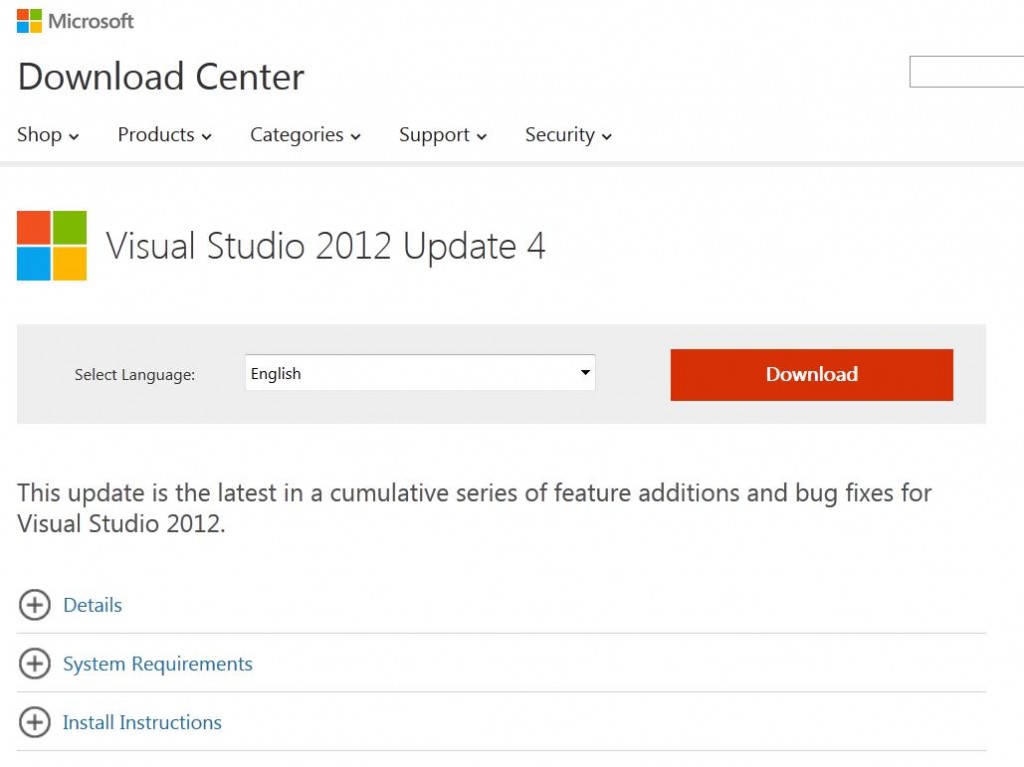
1. First, download the latest VS 2012 Update. As of today Update 4 is available and can be downloaded here: https://www.microsoft.com/en-us/download/details.aspx?id=39305
At least Update 2 is required for subsequent steps to work.
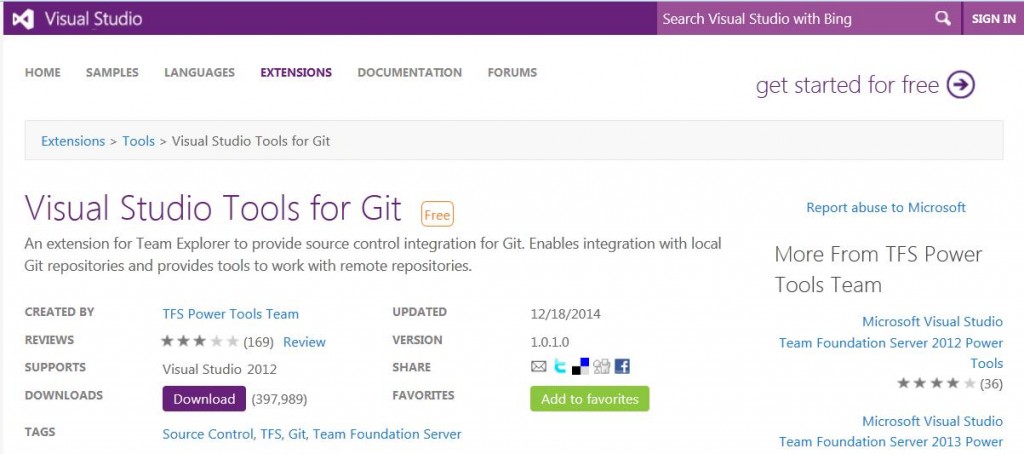
2. Now, download and install Visual Studio Tools for Git. Its is available here:
https://visualstudiogallery.msdn.microsoft.com/abafc7d6-dcaa-40f4-8a5e-d6724bdb980c
Close VS2012 if it is running and install VS Tools for Git
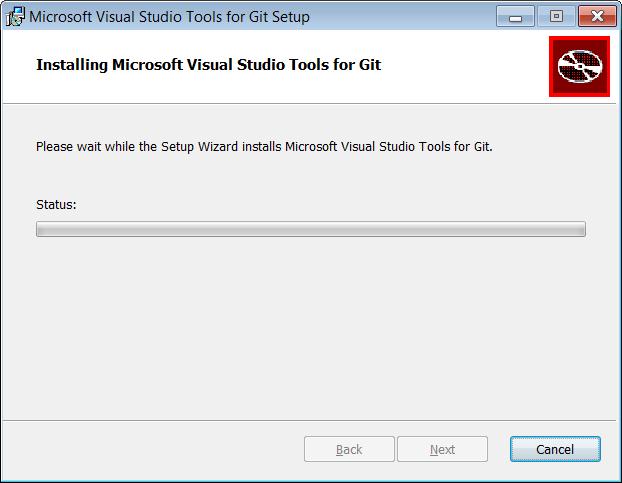
The setup is done.
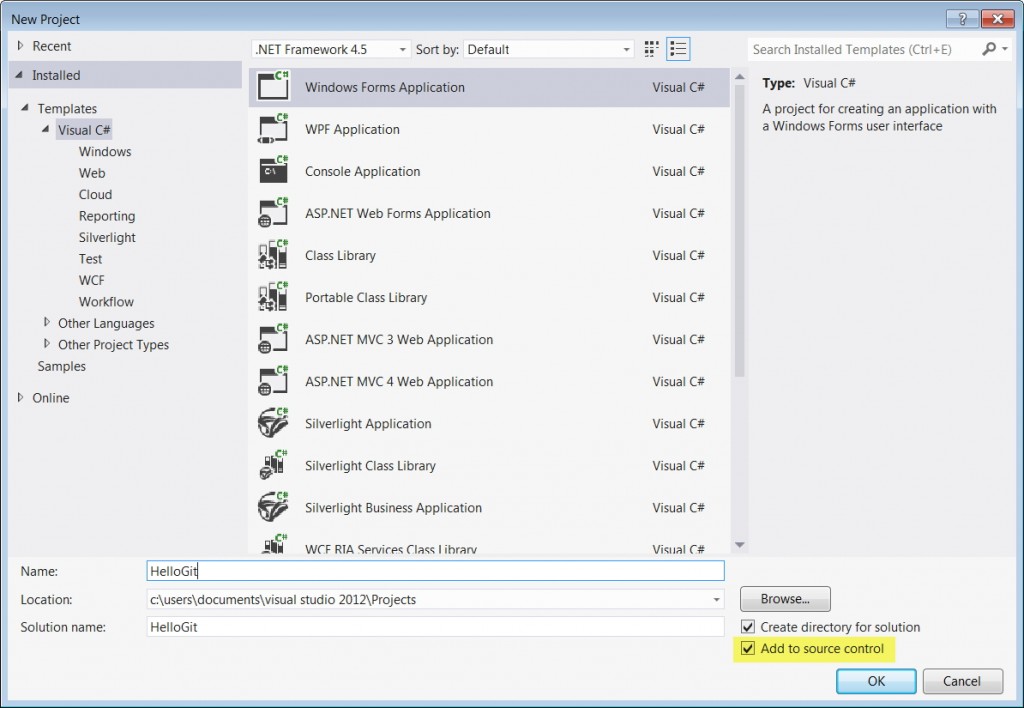
To verify, launch Visual Studio and create a new Team Project.
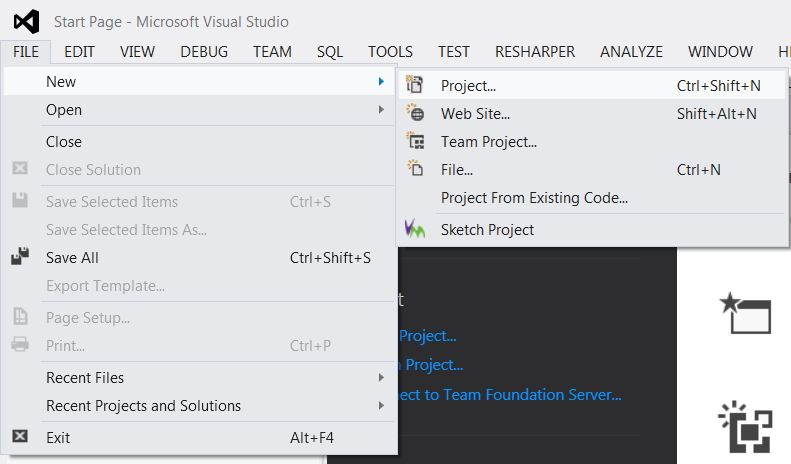
Make sure you select the ‘Add to Source Control’ option
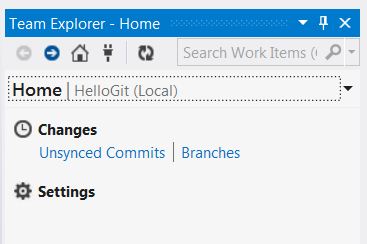
Notice the Team Explorer tab which now lists the project along with “(Local)” which means the project currently exists only on your machine. If you don’t need to link to a remote repository, your setup is complete.
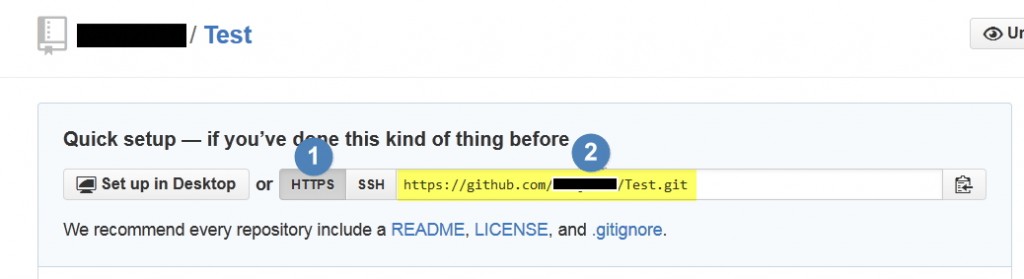
If you already have a remote repository with code (e.g. when you start working on a team project that already exists), you can clone it to your local PC by clicking on the ‘Connect’ icon and then choosing the ‘Clone’ option.
The Git URL will be required here which can be found by going into the repository details page
Simply add this URL to Local Git Repositories
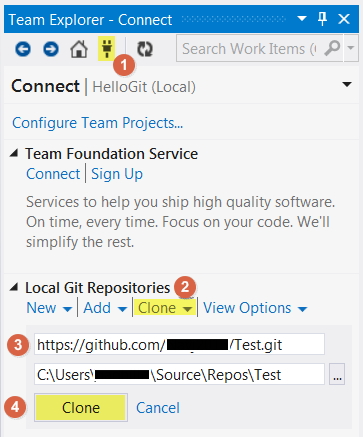
4. Click on the Connect icon at the top
Your source control is now set up and ready to use. You’ll find ‘Commit’ in the context menu of modified files and you can create Branches, Check-in and Check-out from within Visual Studio.
