This article addresses the following errors related to Android Studio and Hardware Accelerated Execution Manager (HAXM) installation.
Error: x86 emulation currently requires hardware acceleration!
Please ensure Intel HAXM is properly installed and usable.
CPU acceleration status: HAX kernel module is not installed!
This computer meets the requirements for HAXM, but Intel Virtualization Technology (VT-x) is not turned on.
Okay. So you’ve installed Android Studio. You’ve followed the step by step instructions. Yet when you run your first program you get the above errors. Worry not, help is here!

The error says HAXM is missing, so obviously the first thing you would want to do is locate the HAXM Installer. You don’t need to download it, its already lurking somewhere on your PC, hidden underneath the labyrinths of your folder structure.
Just type the following in your ‘Run’ prompt and it’ll take you right there: %userprofile%\AppData\Local\Android\sdk\extras\intel\Hardware_Accelerated_Execution_Manager

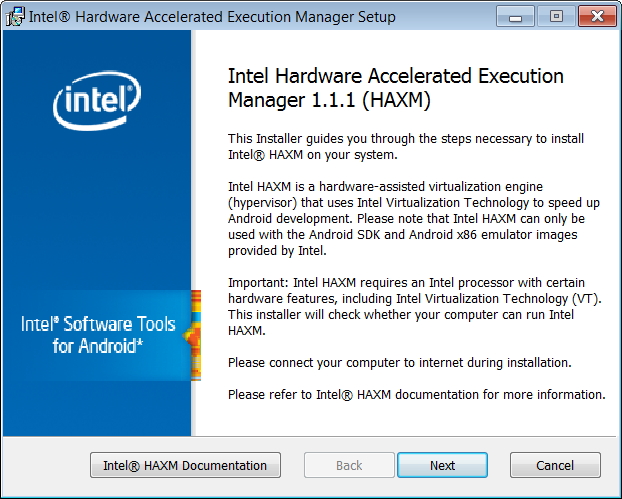
Now double click on intelhaxm-android.exe to start the installer and run through the steps. If you’re lucky it’ll be all done in a jiffy

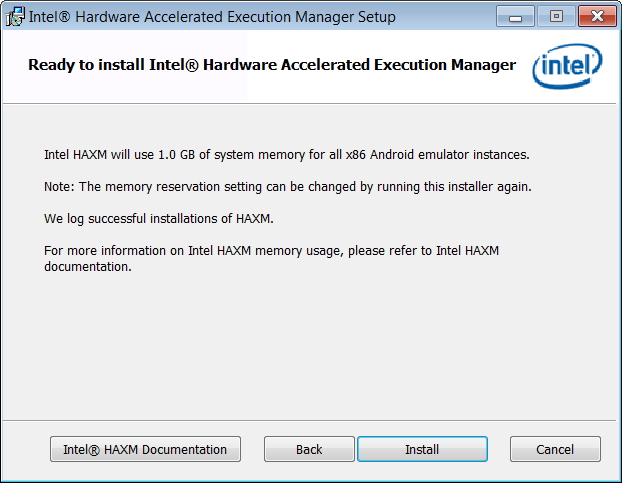
It’s ideal to choose around 2 GB of reserved memory to be able to run most Virtual Devices correctly (e.g. Nexus 5, 6). But this varies from device to device and also depends on the Android version you are using. You could probably get away with 1 GB. You can always change this value by running this installer again.
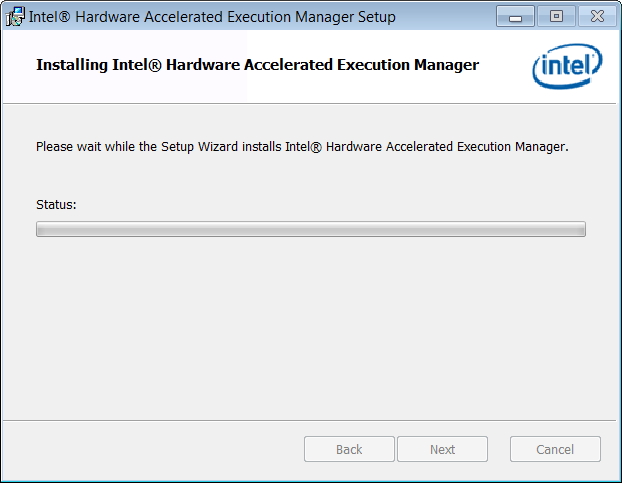
If everything’s good you’ll see the familiar prompt stating that the installation is complete.
Prologue:
There’s a possibility that you might see the following error when you run the Intel HAXM installer:
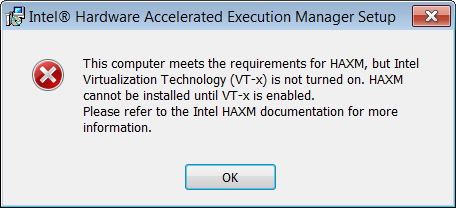
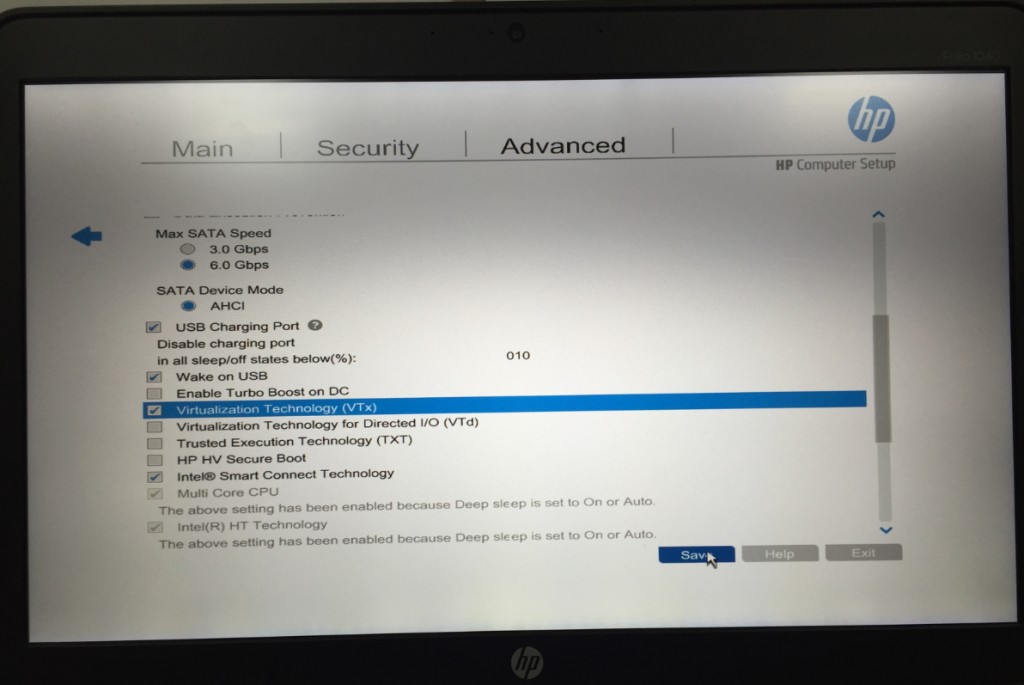
This means you’ll need to enable the Virtualization Technology (VT-x) option in your system BIOS. Here’s how you can do it:
Reboot your PC and go to your BIOS settings. Look for Virtualization Technology (VT-x) option. It shouldn’t be difficult to find.
Here’s how it looks on my HP Notebook:
That’s pretty much it. Now you should be able to run the Intel HAXM setup, and once you’re done with it, you should be able to load the Android Virtual Device and Test your code.

Awesome website and better yet content! Is likely to be back soon.
I have successfully installed Android Studio from their official homepage. But the problem is I can t strat my emulator. Once I run the program, it shows the following error in my command window.
I simply want to say I am just very new to blogging and site-building and definitely enjoyed you’re blog site. Almost certainly I’m going to bookmark your blog post . You certainly come with impressive well written articles. Bless you for sharing with us your web-site.