Google’s Android Studio is a relatively new IDE (the previous preferred programming environment being Eclipse with ADT bundle). If you’ve set up Eclipse on your PC before, you’ll agree that Android Studio is much easier to install and configure compared to Eclipse+ADT Bundle. For one, the number of components required before you can start writing your first application are lesser in Android Studio. Actually it’s just one integrated installer, which is a good thing.
This short post is intended to serve as a quick start guide for those looking to set up and start working on Android Studio. While most of the installation is straightforward, there are a couple of issues you might run into when you first start using it, and this article will hopefully help you with that.
Step 1: Head over to android.com developer page and get hold of the installer: https://developer.android.com/sdk/index.html
Step 2: Install Android Studio. It’s pretty straightforward and I don’t think we need step by step instructions for this part.
Step 3: So I’ve installed Android Studio. I can even open the IDE and see the ever welcoming ‘Tip of the day’ screen. I’m now all set, right? Wrong! Well, actually you might be, but it depends.

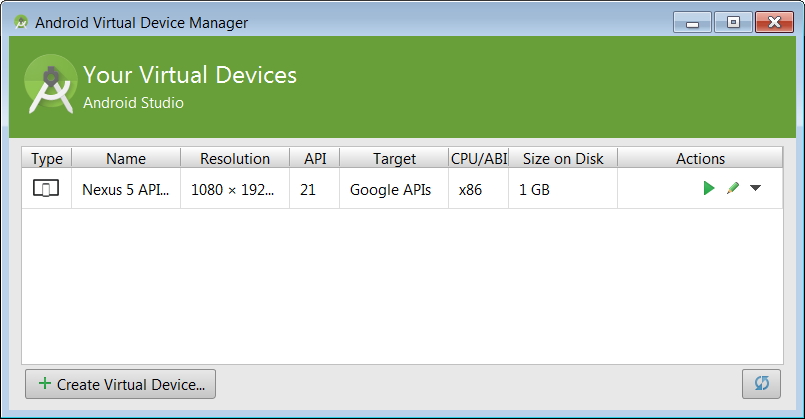
Step 3 (a): You just need to add a Android Virtual Device to test and debug your code. Simply click on the AVD Manager icon in your IDE to bring it up.

The AVD Manager window will look somewhat like this, though you won’t see the Nexus 5 device yet.
Step 3 (b): Click on the ‘Create Virtual Device’ button to bring up the Virtual Device Configuration Window
Step 3 (c): Now choose the device you want to use and press next. Nexus 5 or 6 is a good choice.

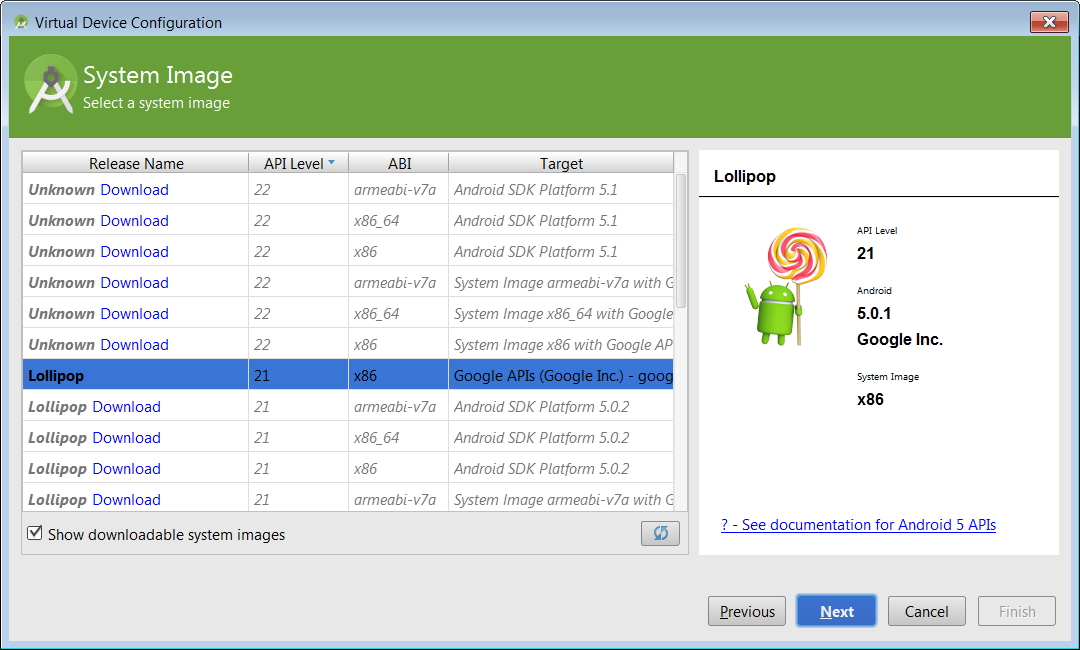
Step 3 (d): Choose the Android OS and version you want to use and click ‘Next’. Lollipop should do.
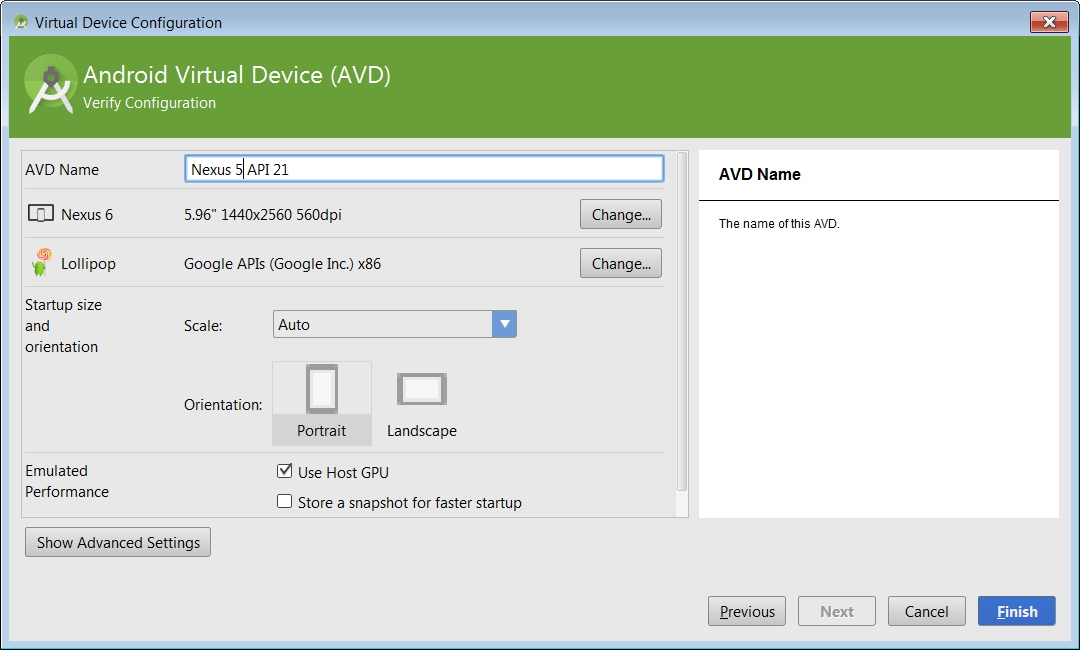
Step 3(e): And Last, choose a name for your Virtual Device and click ‘Finish’
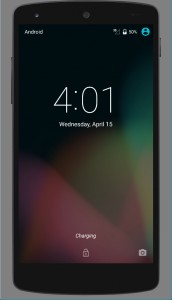
That’s it. If everything’s good, you should be able to run your first program

4. When you run the App (use Shift+F10 or the ‘Run App’ button), you should see the AVD boot up. Once it is done booting, you’ll see your ‘Hello World’ app running.


5. There are a couple of things that could go wrong here, but nothing that can’t be fixed quickly. If you see the dreaded “HAX kernel module is not installed!” error when you run your App, worry not and head straight for the post: “Fixing HAXM kernel error in Android Studio”
