The easiest way to get a Raspberry Pi up and running is to boot it with NOOBS (New Out Of Box Software) that can install the OS you’ll need. The default NOOBS offline installer includes LibreELEC and Raspbian. In this tutorial, we focus on installing Raspbian. We’ve used Raspberry Pi 3 Model B+, a 128 GB micro SD card and Windows 10 Pro OS.
1. The first thing to do is to use the SD Formatter tool and format your SD card:
The tool can be downloaded from: https://www.sdcard.org/downloads/formatter/
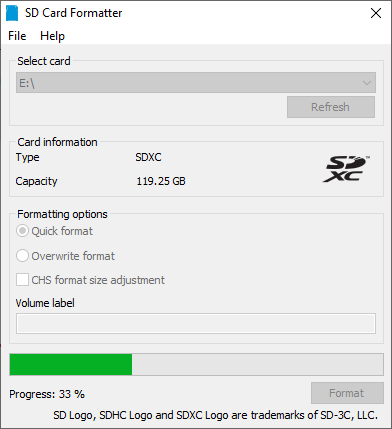
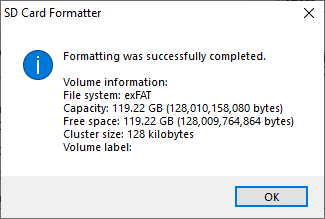
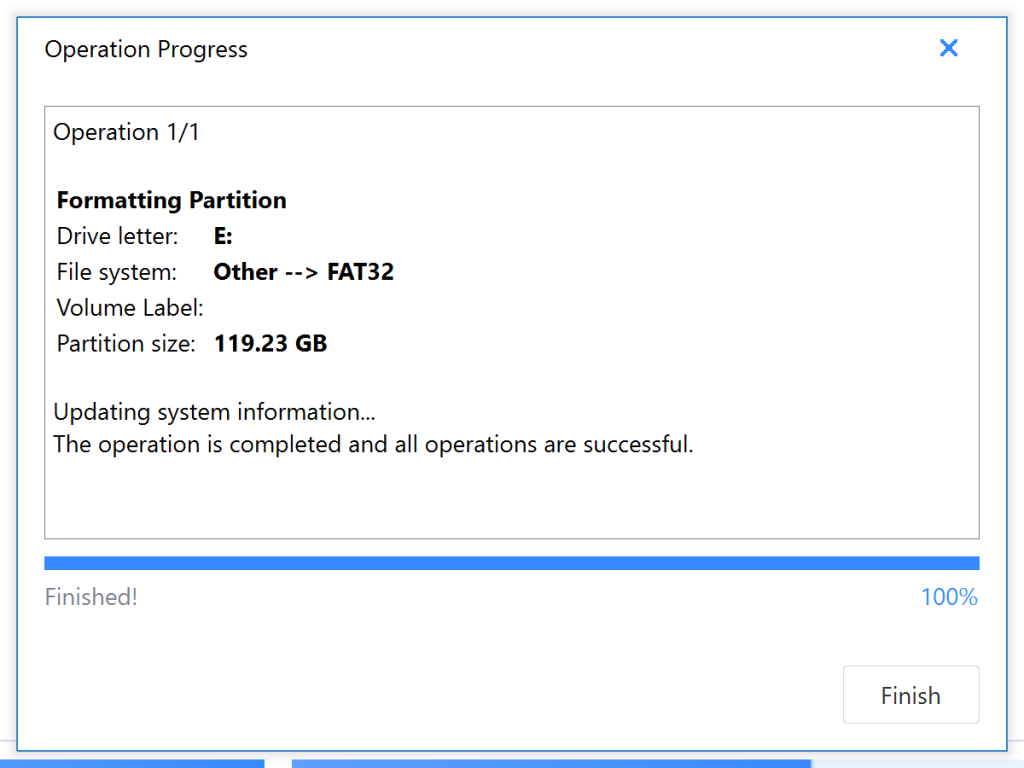
2. If your SD card is larger than 8 GB, there are a couple of extra steps needed to get things ready. Usually, large size SD cards are formatted to exFAT or NTFS fiel system, none of which will work with Raspberry Pi (at least not for the purposes of installing Raspbian). Mainly, Windows doesn’t provide an easy way to format SD cards larger than 8 GB to FAT32, so we’ll use a third party tool to do it.
There are two options for this. Actually there are more than two, but it seems the most commonly used one is this one: http://www.ridgecrop.demon.co.uk/index.htm?fat32format.htm (click on the screenshot on that web-page to download).
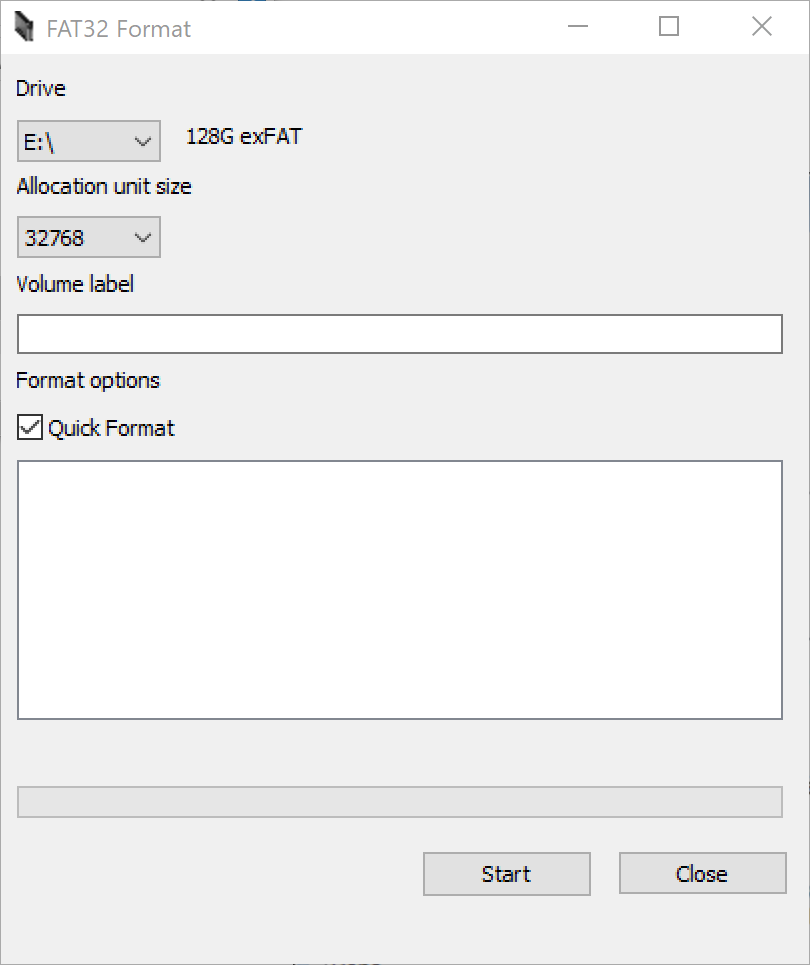
Unfortunately it did not work for me. I kept getting an error that the disk was in use.
What worked for me was EaseUS Partition Magic Free Edition: https://www.easeus.com/partition-manager/epm-free.html
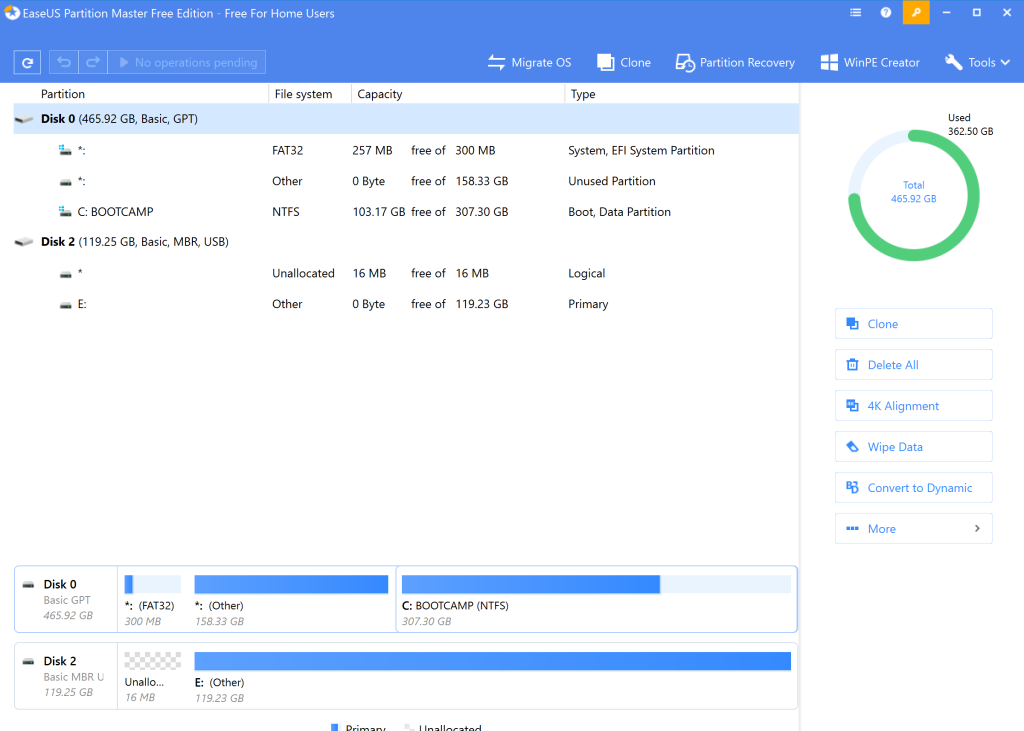
Remember to set the ‘Cluster Size’ parameter to 32 KB.
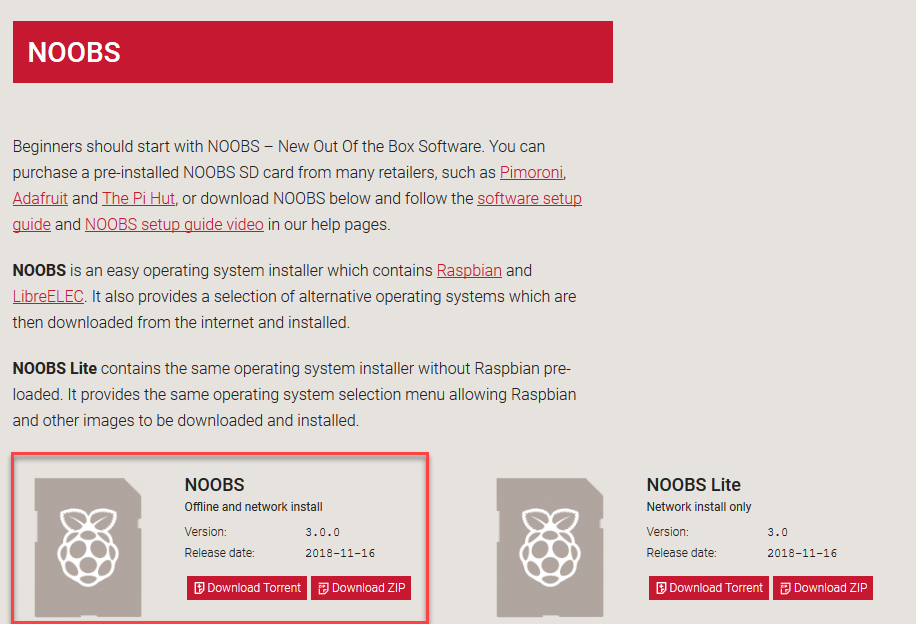
3. Download NOOBS from https://www.raspberrypi.org/downloads/noobs/ . We used the offline install option. Unzip the downloaded file and copy the contents to the SD card.
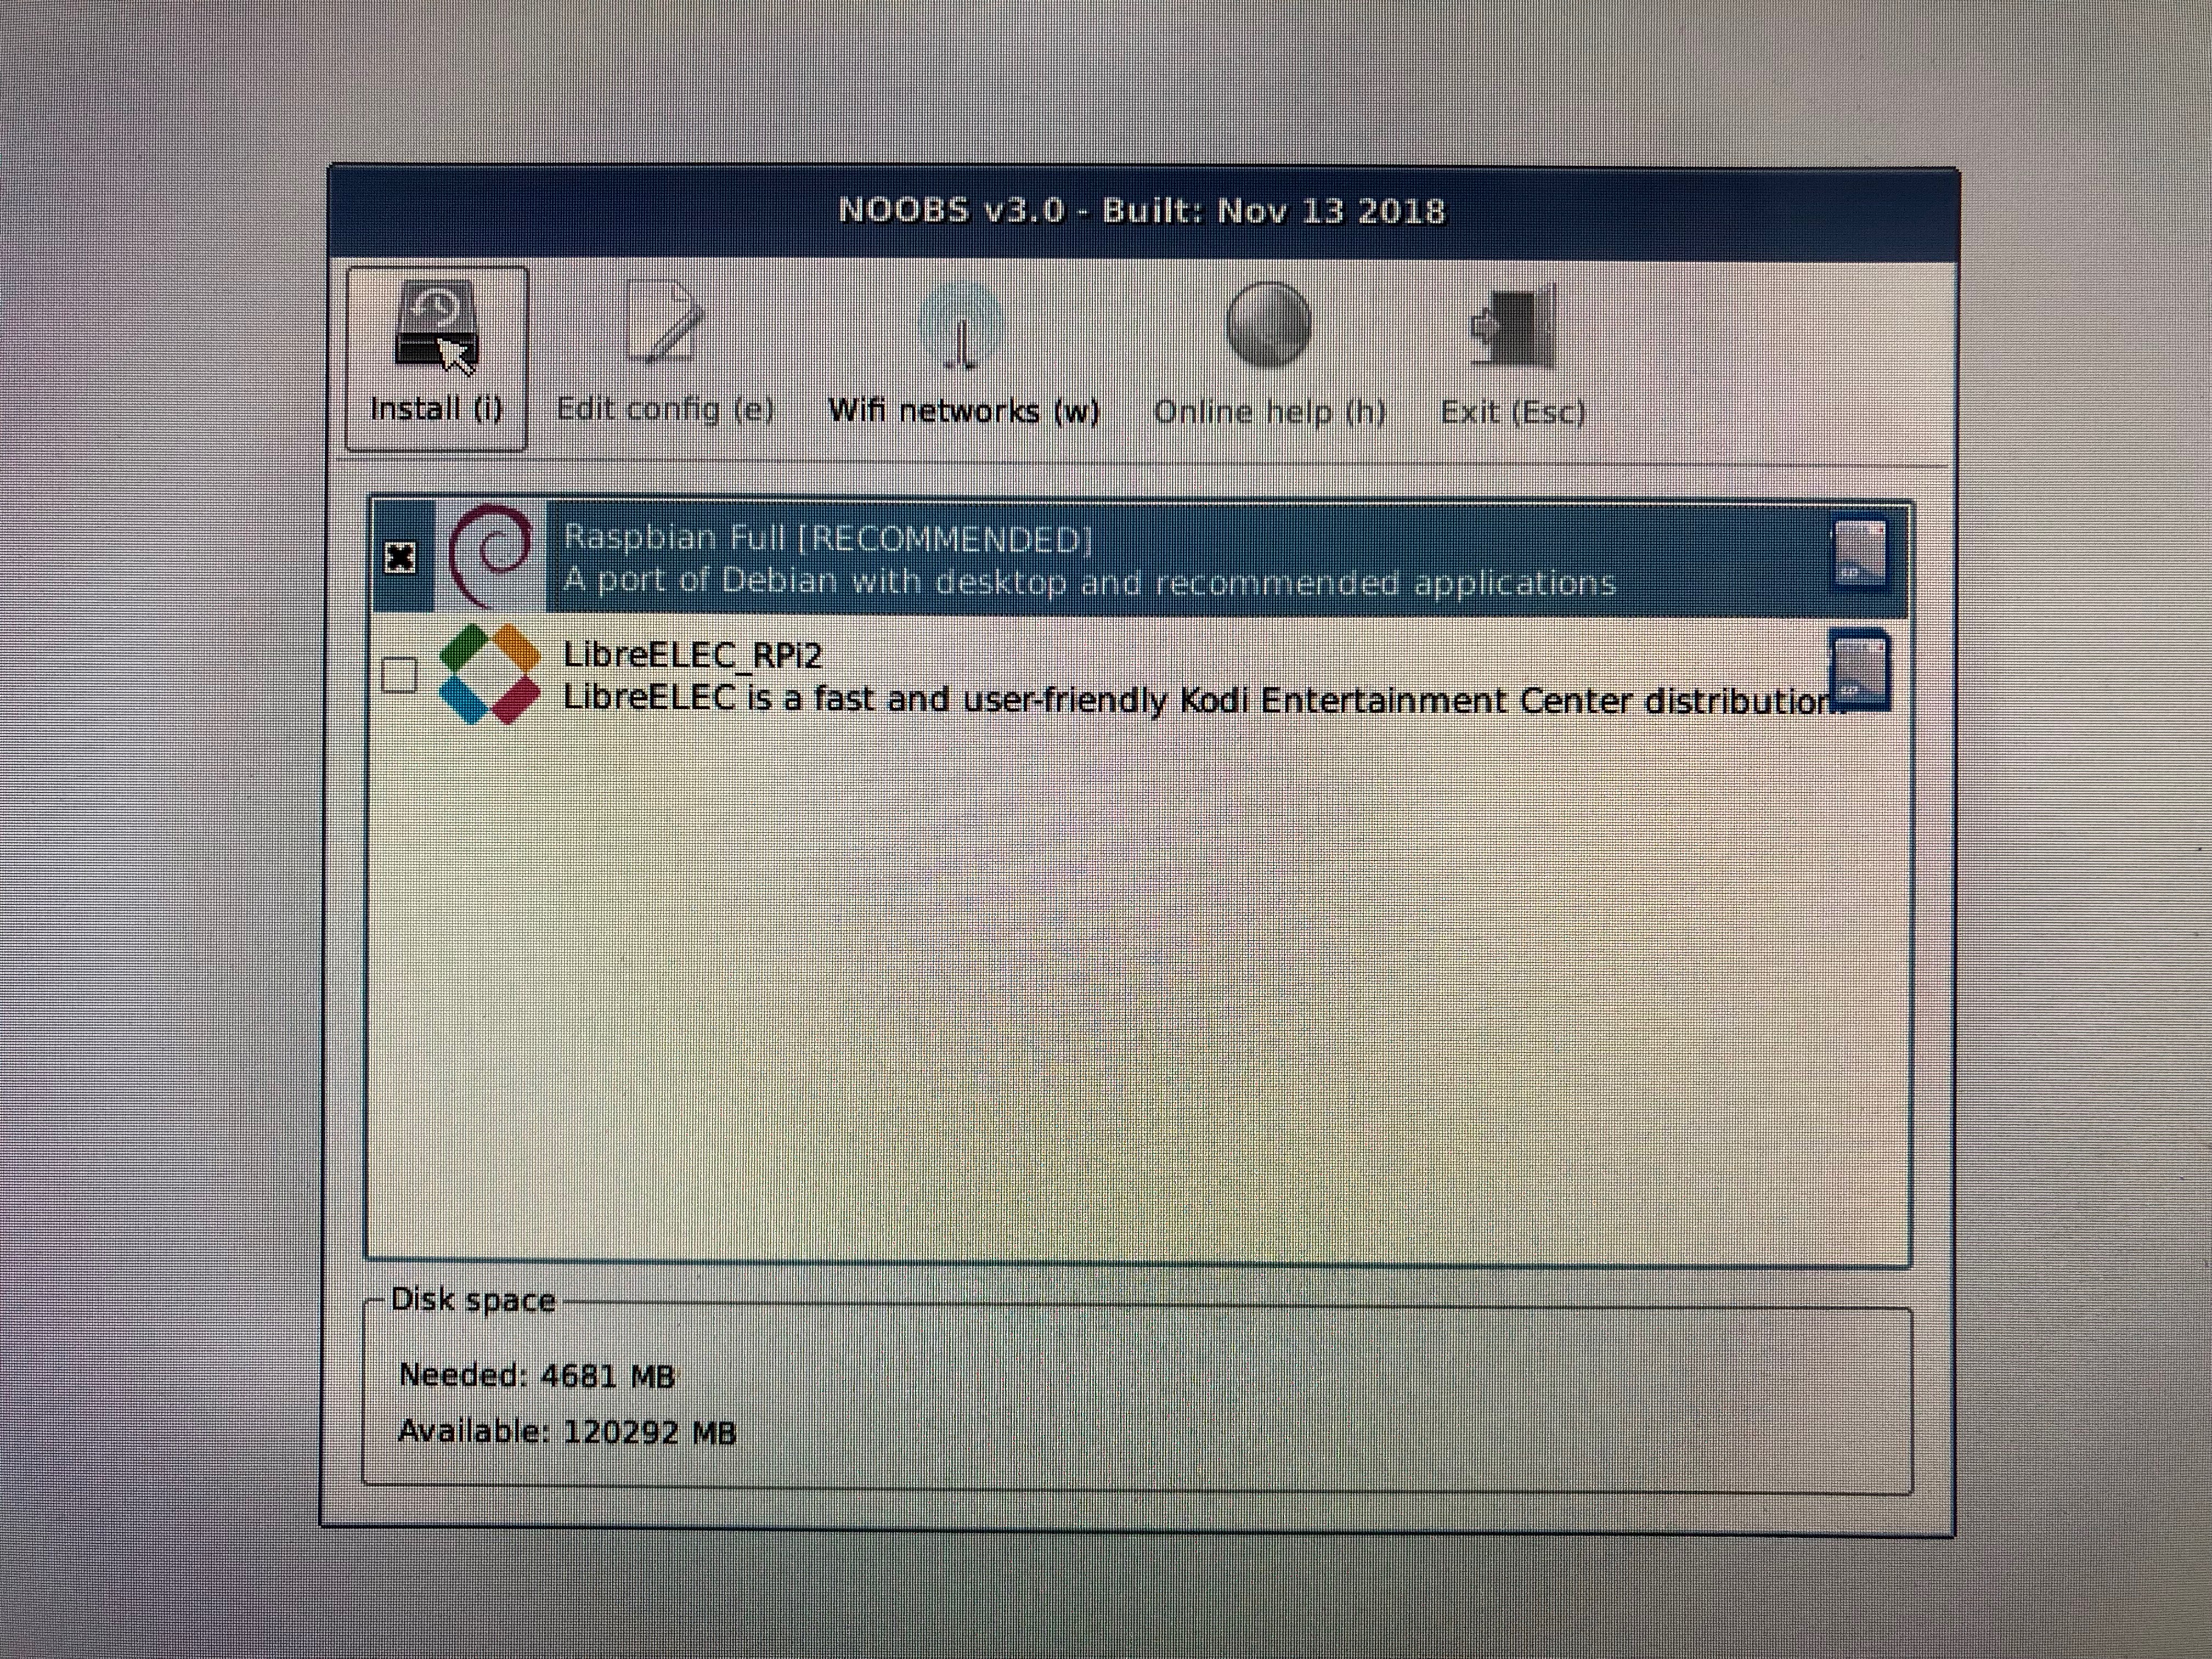
4. Boot the Raspberry Pi off of the SD card. On boot, select Raspbian Full from the GUI.
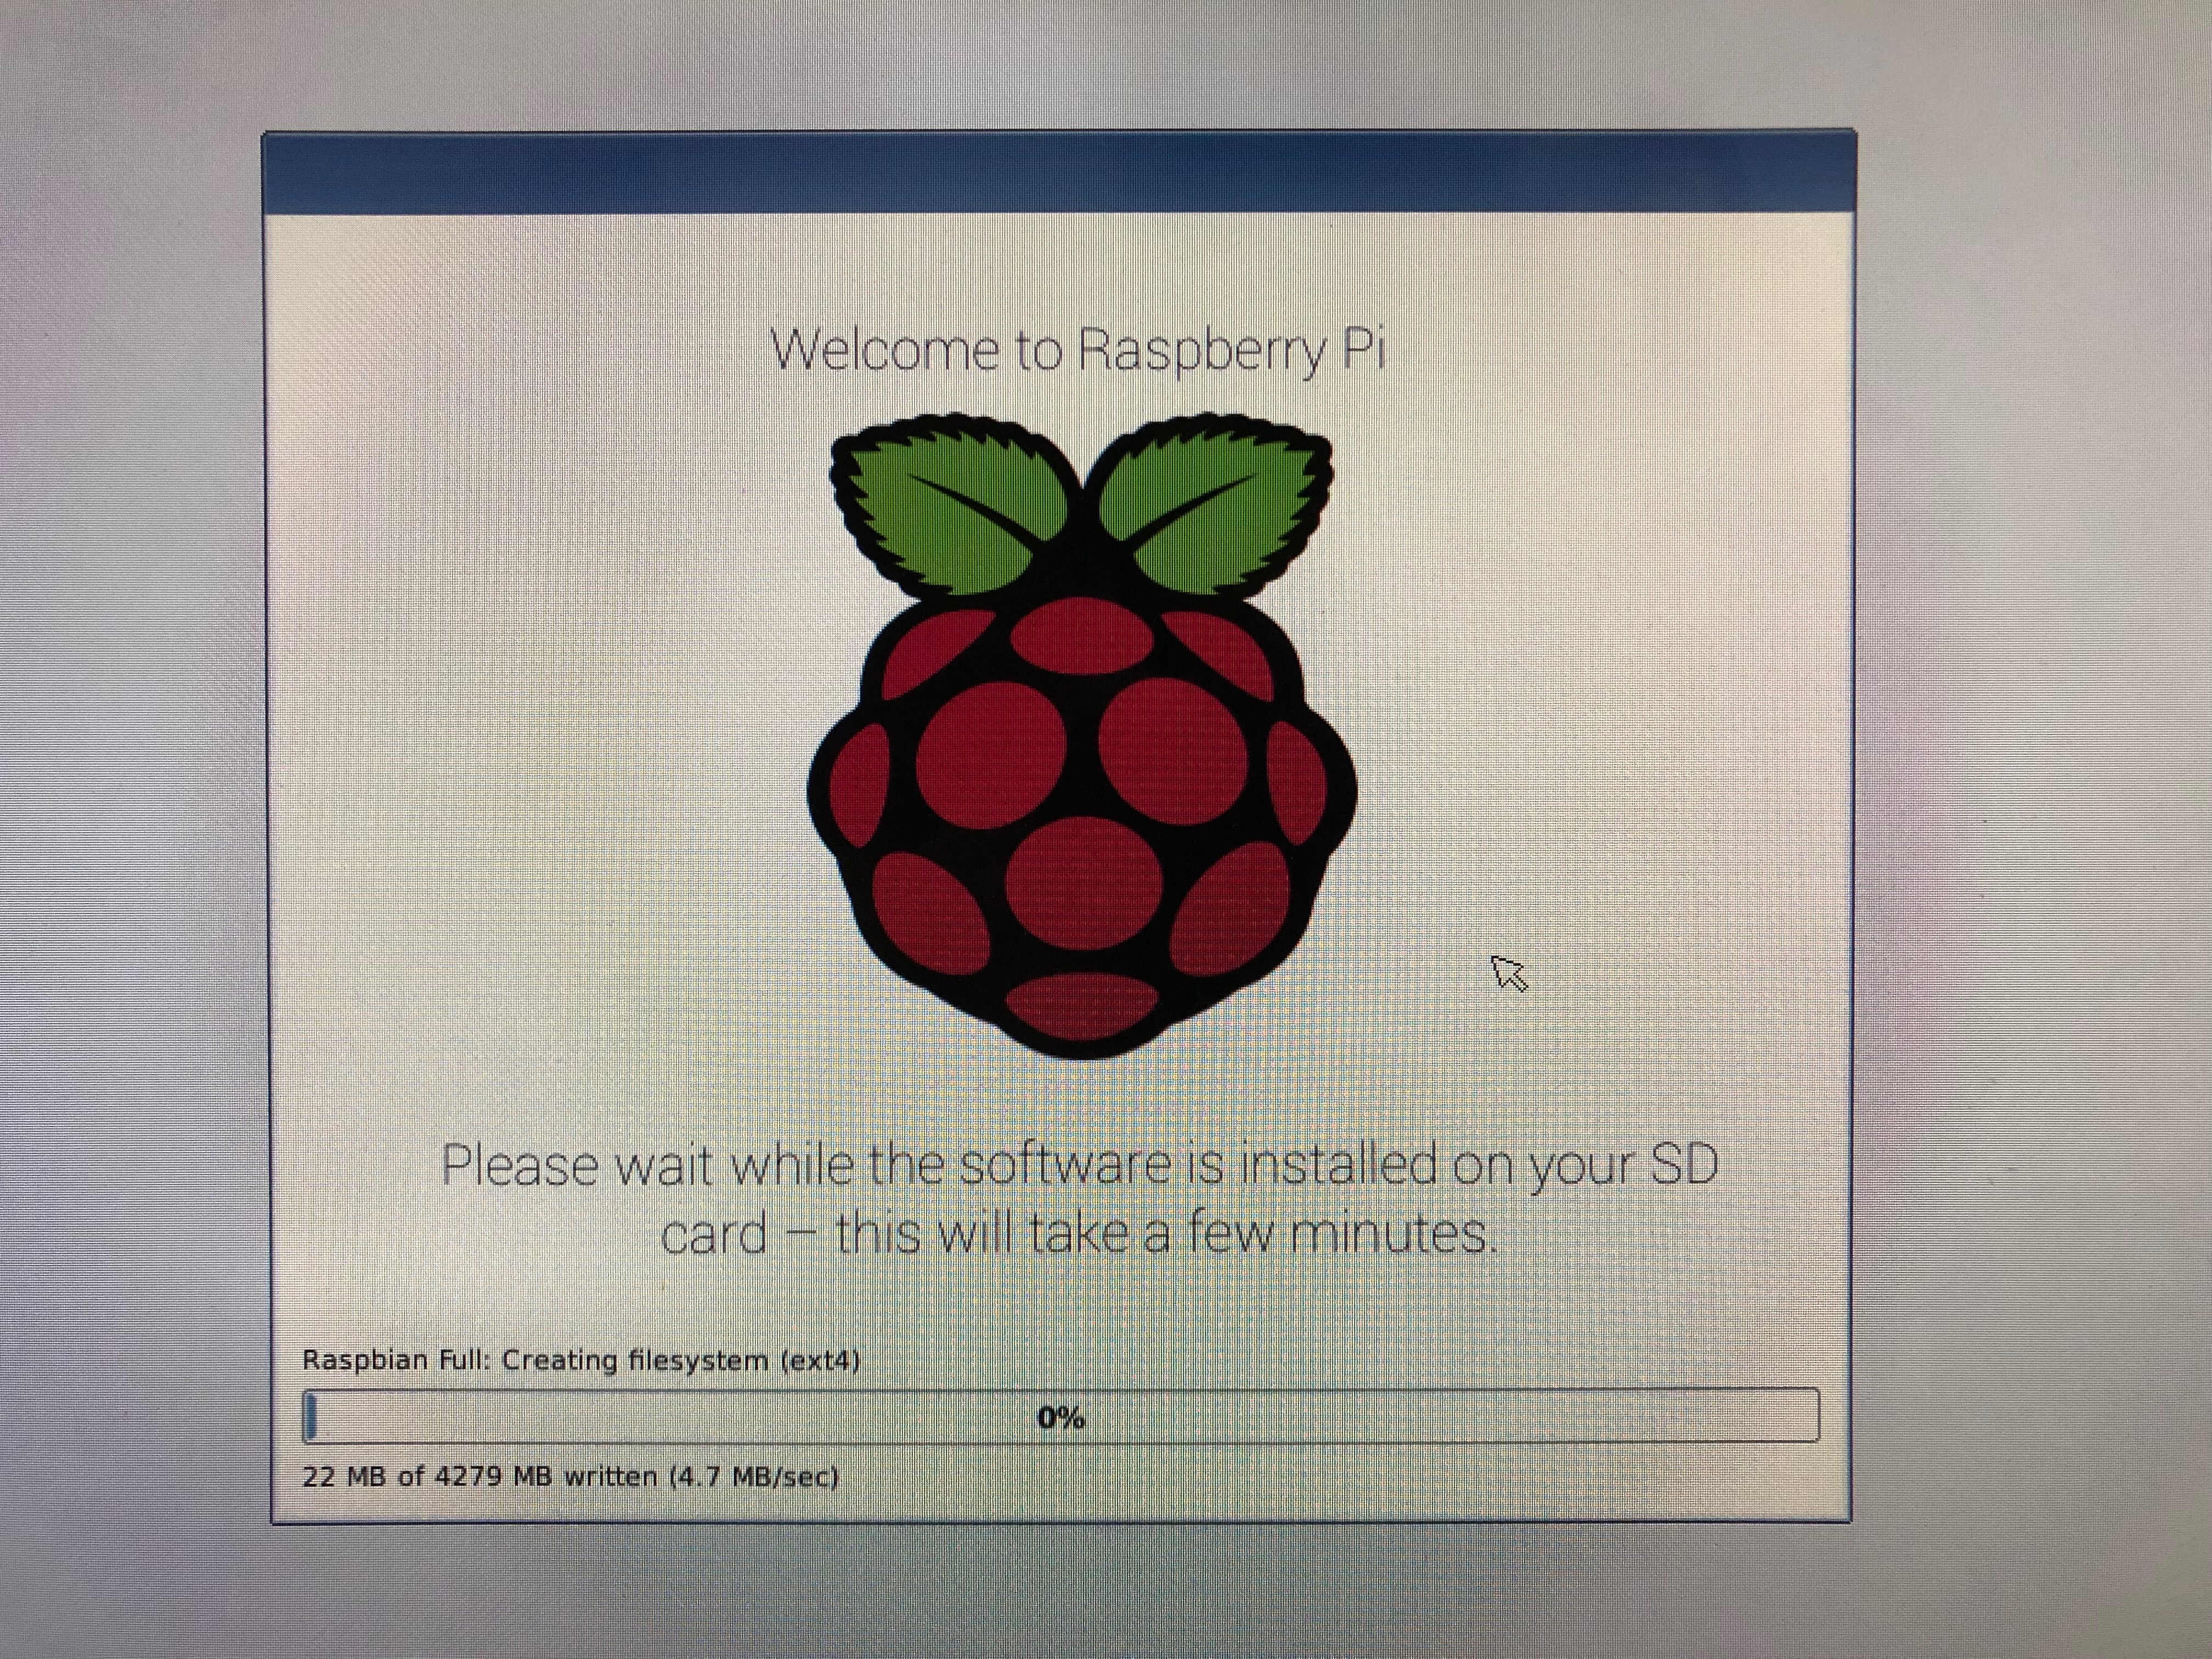

Wait for the installation to complete and reboot. Raspberry Pi should now be up and running with Raspbian.
